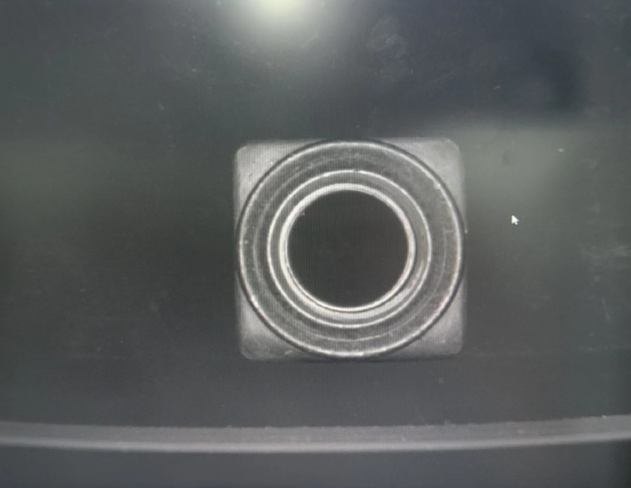
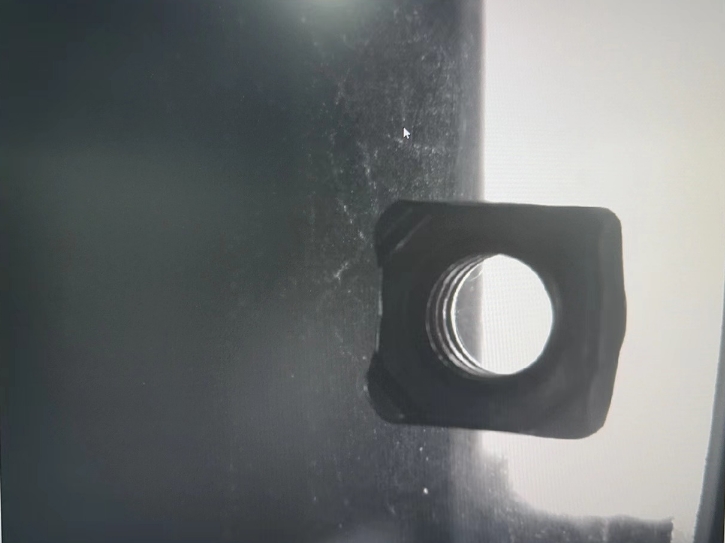
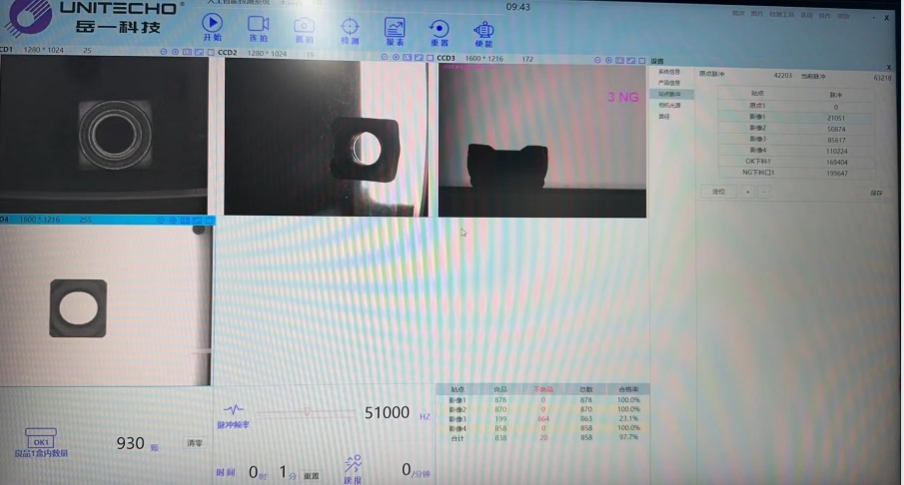
The device works mainly on the principle of machine vision and optical imaging. Firstly, a high-precision industrial camera is used to acquire multi-angle and multi-light source image of the welding nut, and the detailed image information of its surface is obtained. Then, the advanced image processing algorithm is used to analyze and process the acquired images, extract various characteristic parameters of welding nuts, and compare them with the preset standard values, so as to judge whether there are defects.


Such as missing teeth, burrs in holes, scratches, pits and other surface defects. These defects will directly affect the performance and appearance quality of welding nuts. Through high-precision image measurement technology, the key dimensions such as thread size, inner diameter, outer diameter and height of welding nuts are tested to ensure the interchangeability and assembly accuracy of products. Use advanced image recognition algorithms to capture tiny cracks and breakage on the surface of welded nuts. These defects may lead to failure or safety incidents during use.